Building a cob pizza oven
Building a cob pizza oven in about 25 photos
I wanted to build a cob pizza oven, but didn't have a suitable place for a permanent structure. So I thought I'd build an oven on wheels that could live in my garage and then emerge out onto the driveway when it was pizza time.
I started off with a short table, with 2x6s on joist hangers spaced only 4" apart. Then a 2x4 deck. I used bricks to create a perimeter around the materials. I followed Kiko Denzer's Build Your Own Earth Oven book pretty closely, and had warned me in his book to be careful to add plenty of insulation between the oven and anything flammable. My friend Kendall Rogers has built a number of ovens and recalled one that always caught its stump base on fire underneath it. So I built mine with two layers of wine bottles and 4" insulating material (clay and wood shavings) as well as a layer of copper pipe through the very bottom layer. My thinking was twofold: 1) I can feel the pipe and know what's going on under the oven, and 2) if the copper pipe gets hot, I could attempt to blow air or run water through them to cool the pipes and material. I had visions of running apple cider through it on one side and hot apple cider coming out the other side.


It's a 44" side and long deck. Wine bottles are strong and insulating:


I covered the wine bottles with insulating cob material on all sides and built up the brick perimeter into the coliseum phase of the project:


And added another layer of wine bottles. Friends were very helpful in making sure I had enough empty bottles for this project. I initially added two trailer jacks to one side of the wooden supports that could be extended to raise and then roll the oven and then lowered so it would rest on solid supports. But there was no way even several strong people could lift the other end and pull/push it, so I added one to each leg. These were some of the most expensive parts of the project, about $35 each.


Then I built a 4" layer of dense cob, sand and clay, to hold heat underneath the oven floor. I used wood from a frame of a wooden shipping box neighbors tried to get the garbage folks to take, but it was left on the curb. They were delighted when I asked if I could have it.


Then I placed my fire bricks as an oven floor on the thermal layer. I thought I'd make it a little bigger during my initial plans, but decided to go smaller in the end. It wound up 22.5" diameter baking surface.

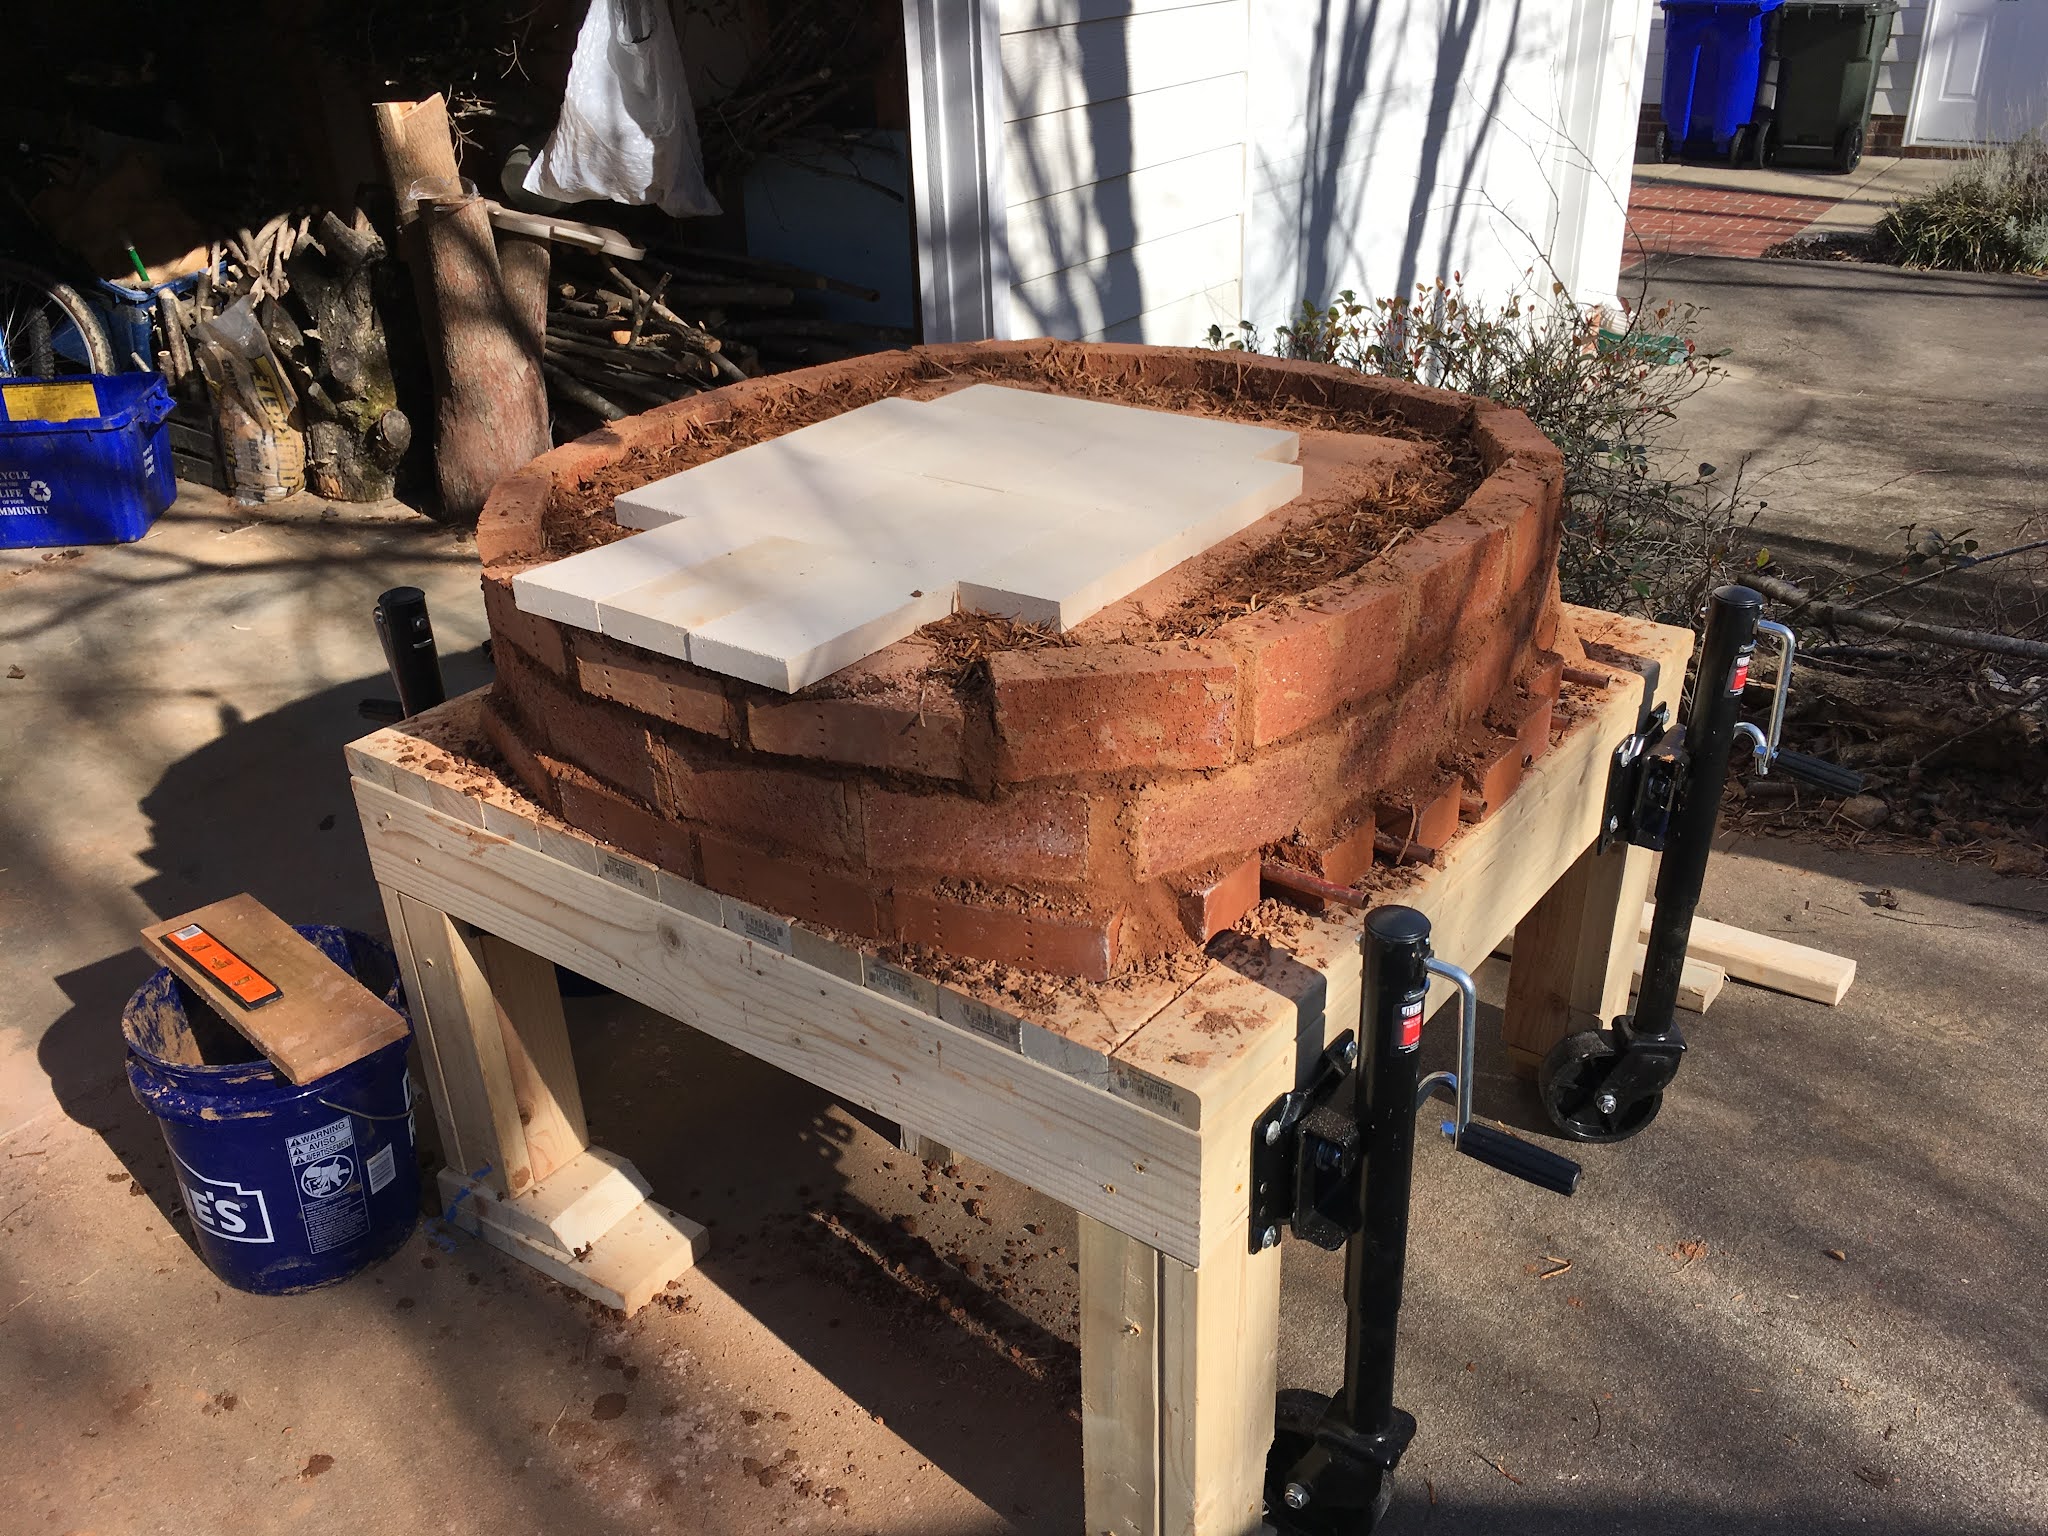
I had more luck getting some family to help me at this point. It was cold December during covid. We built a sand dome/castle to support what would become the pizza oven. The sand will come out later and be the void. This was the Neuschwanstein phase of the project.

I built a door that I thought was temporary to build the arch around, but that door is the only door I've used. We built a 4" thermal layer around the sand (same as the floor under the fire brick), with a layer of wet newspaper in between. This will help me know when I've hit the end of the sand when I pull the sand out later.


Continued building until the top was formed and then fill it out to full width:


Yay. It was late and cold, but wonderful:


After a few days of drying and curious passers-by, I hoped the clay was dry enough to support its own weight without the sand as a support.


It was, and it was a lot of sand.


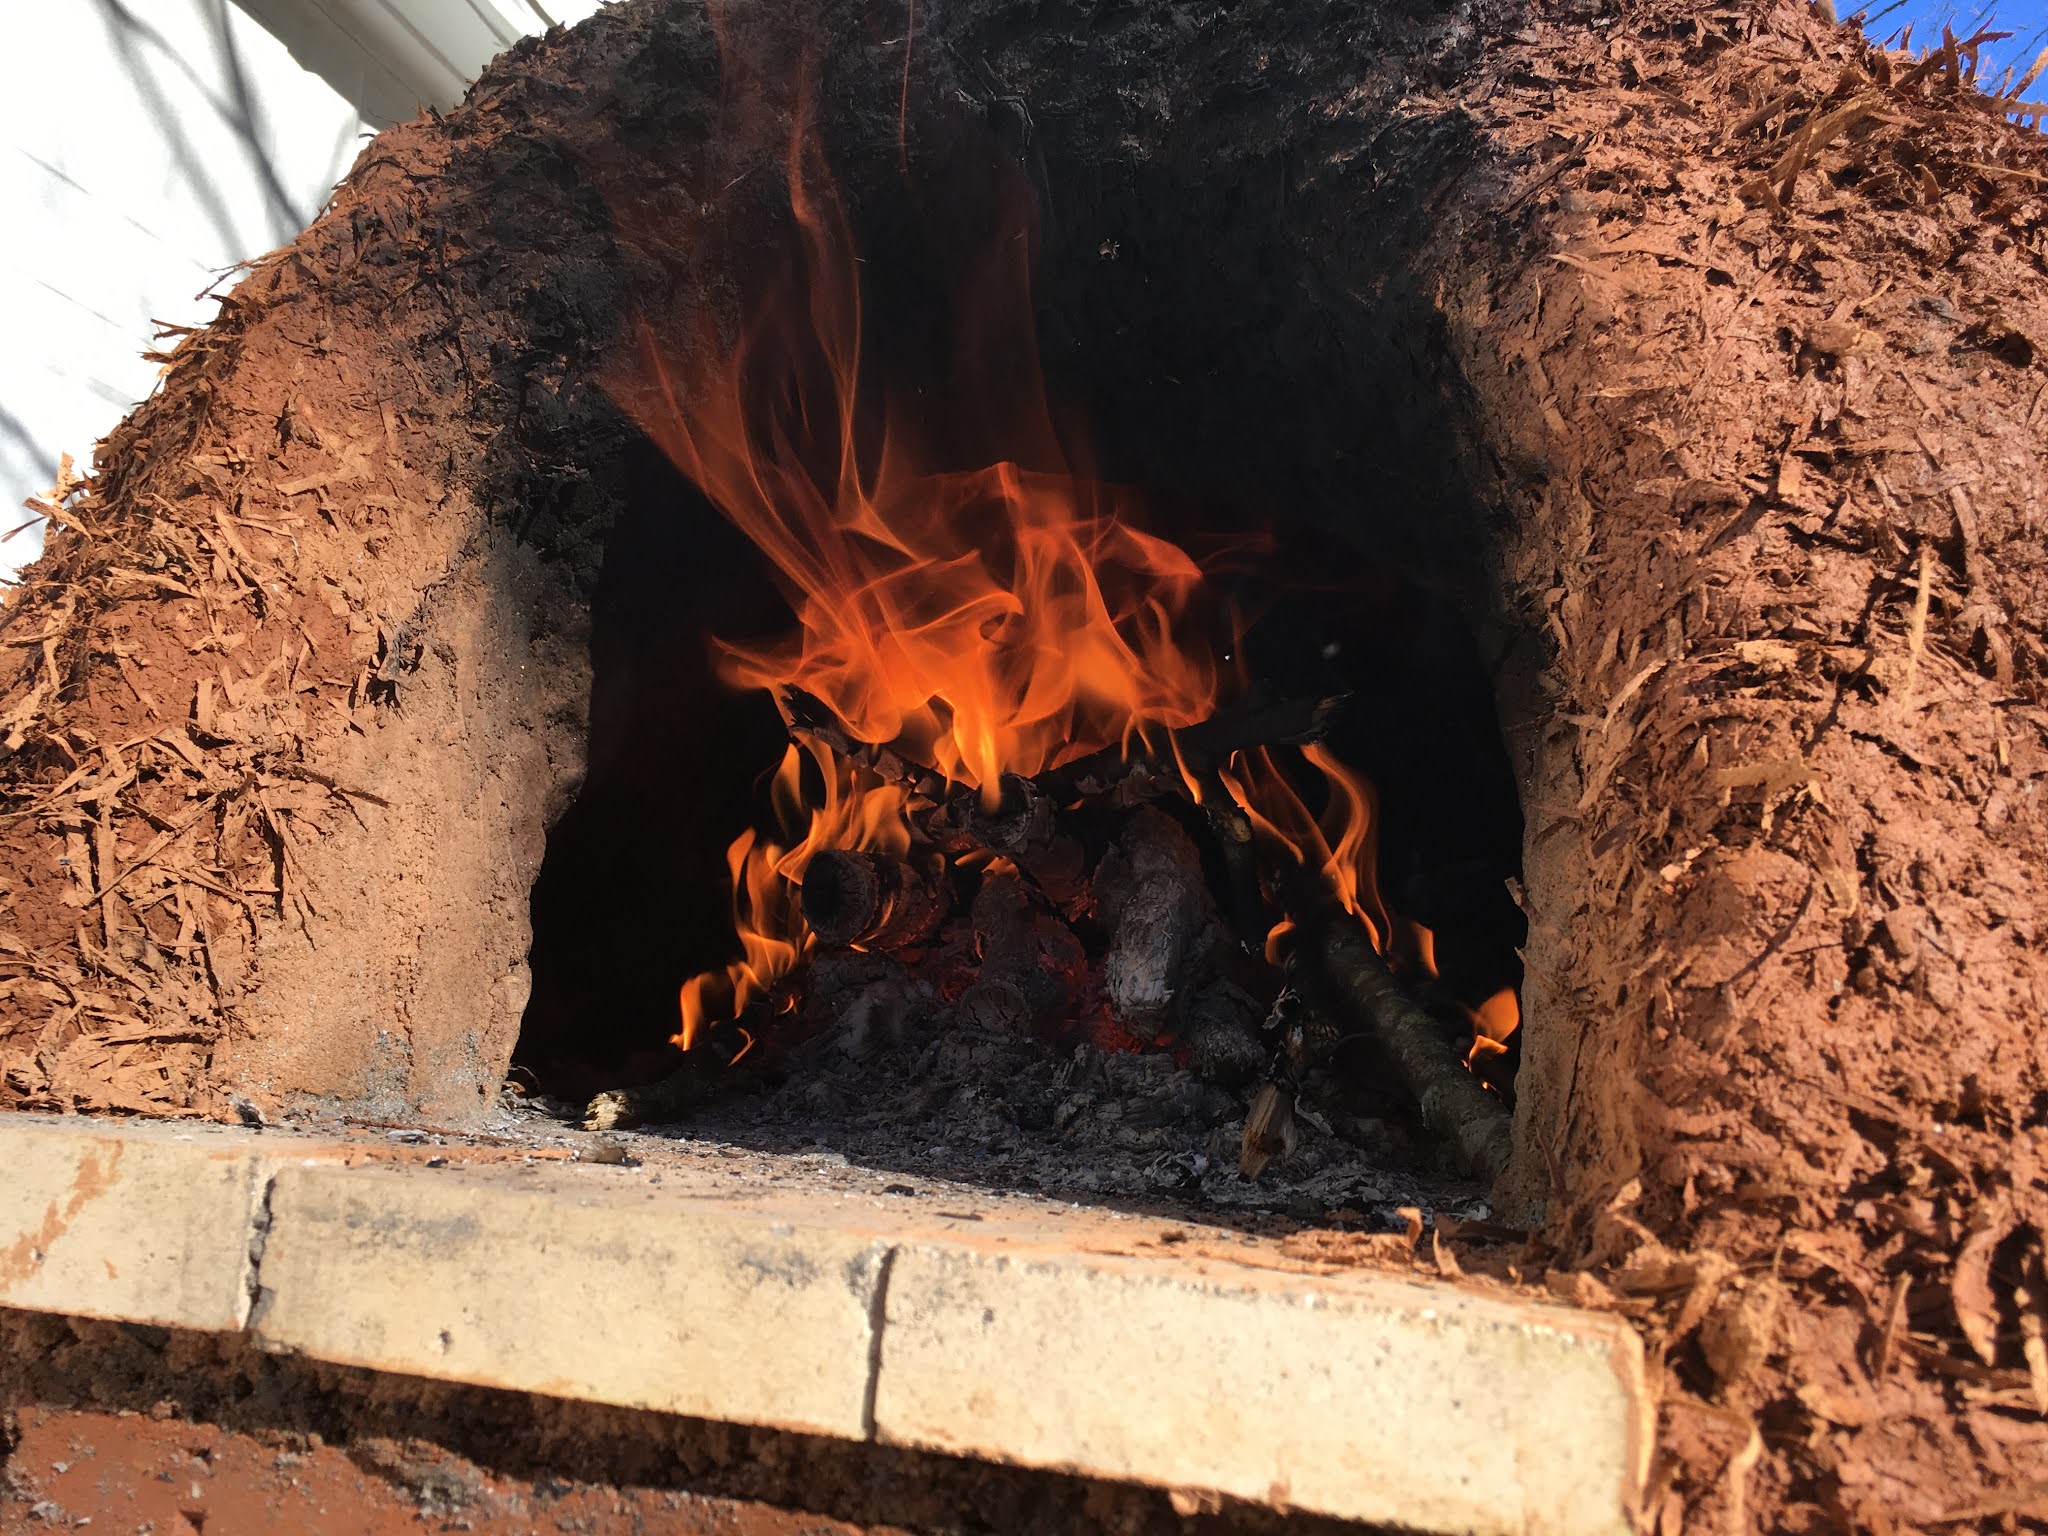
We made some fires to help dry out the inside of the oven. Very small sticks, no logs for a long fire.


Cheers!


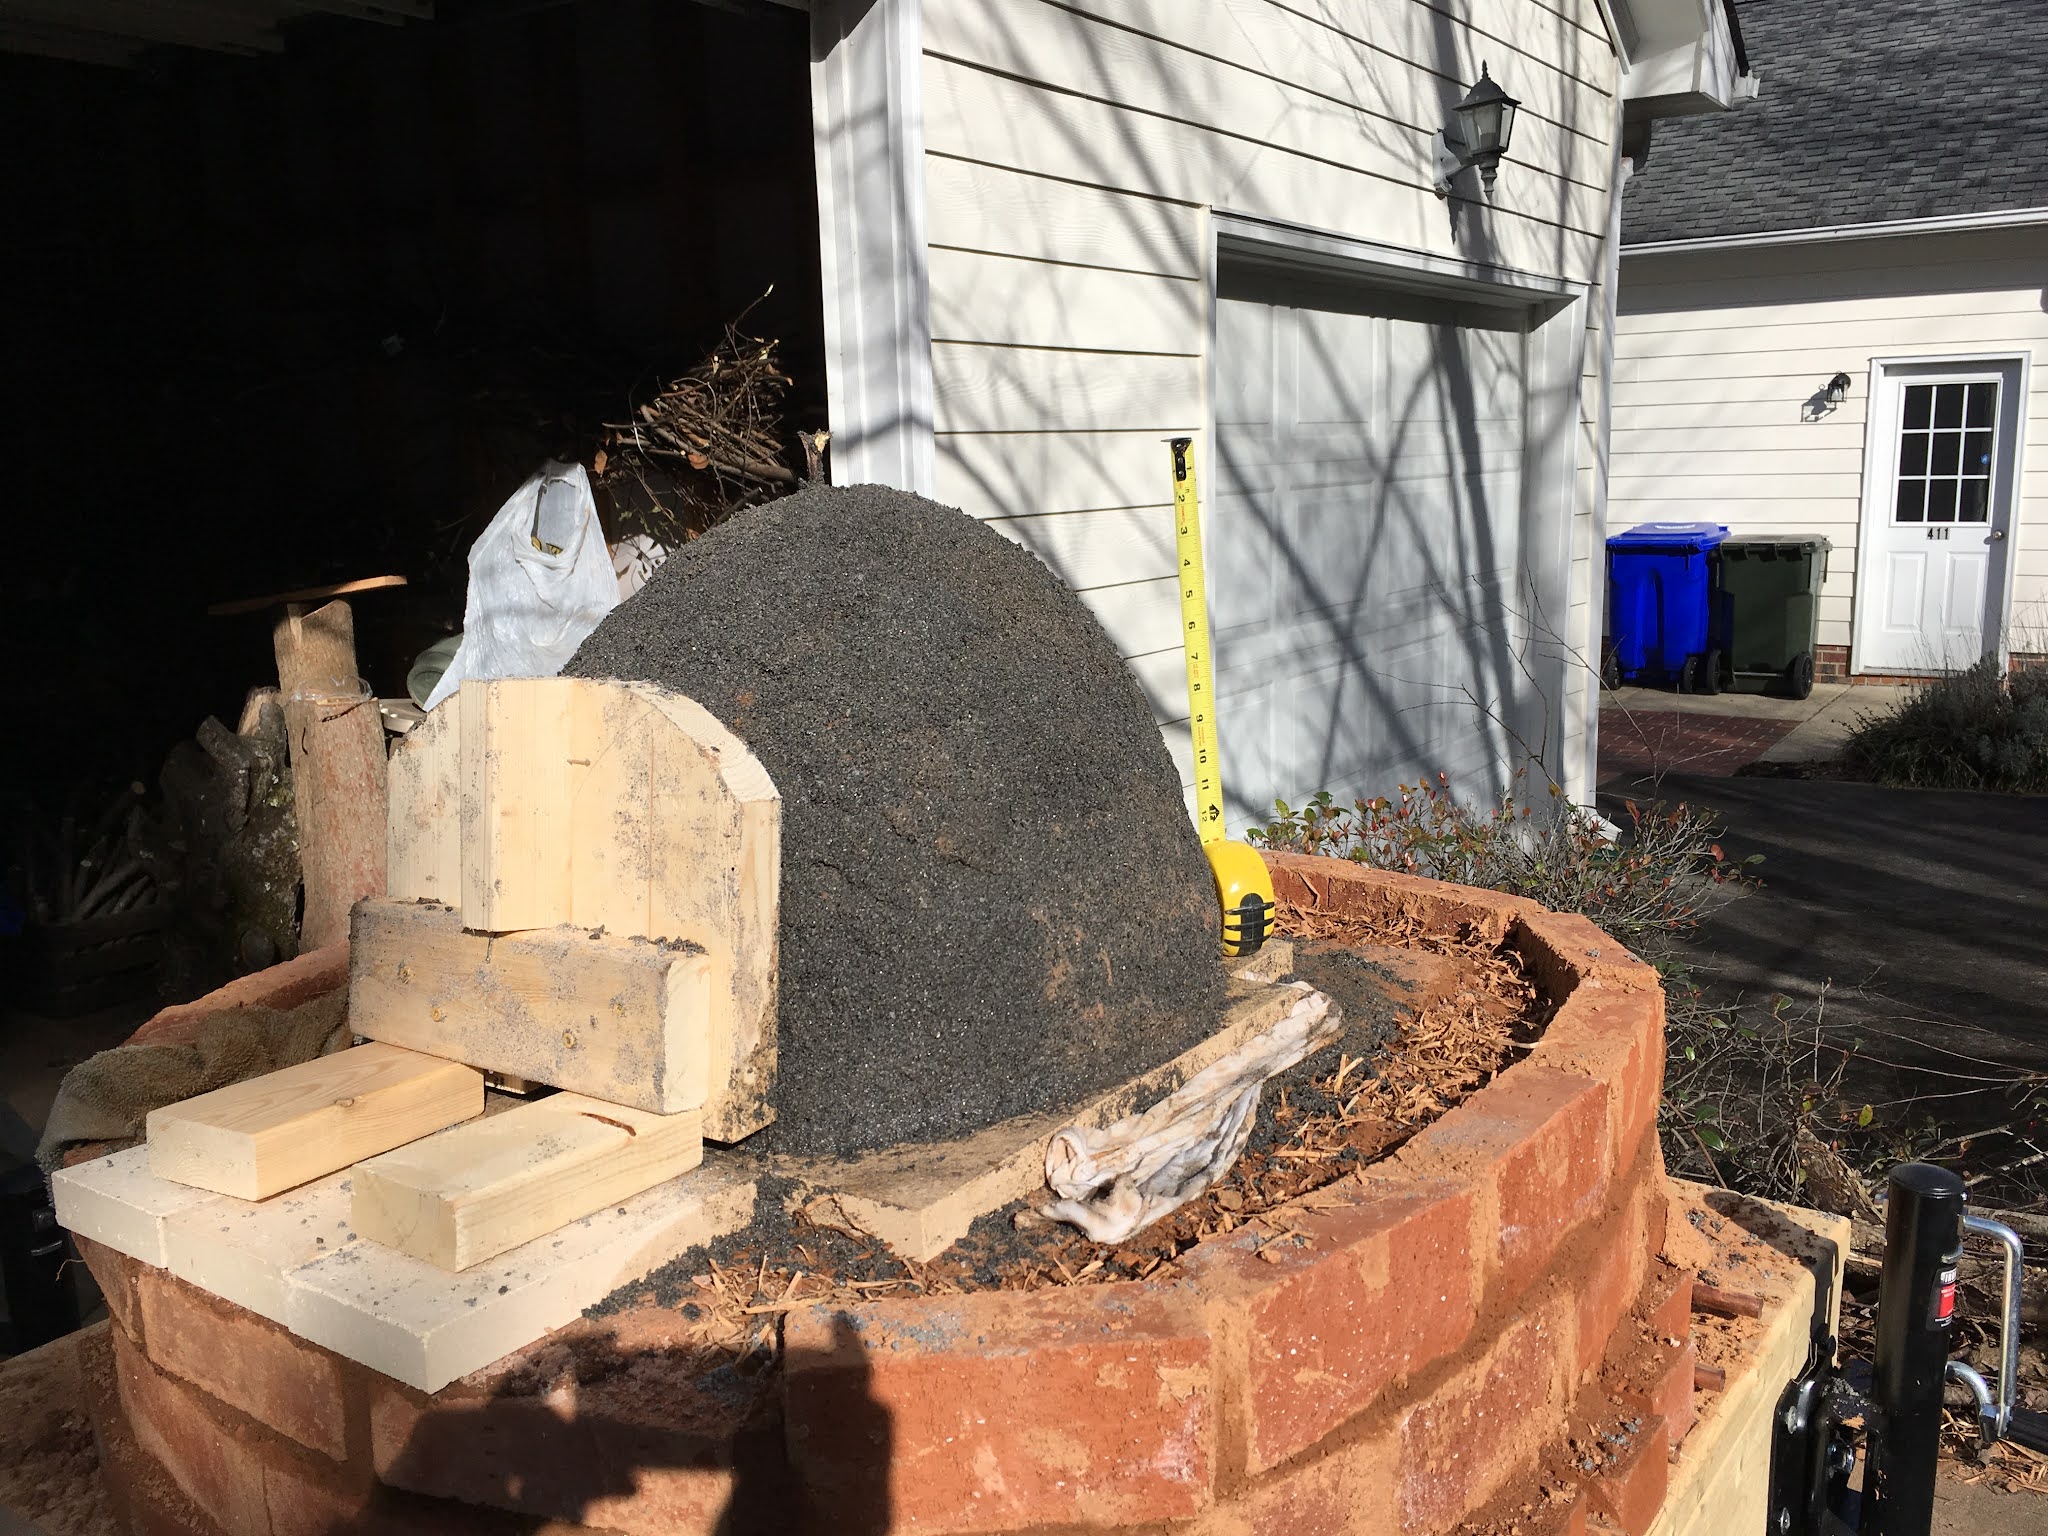
Next, we added an 4-inch insulating layer of clay and wood-shavings.


We used wine bottles in this insulating layer too, as they were easier than making more insulating cob.


The finished insulating later. This is the snuffaluffagus phase of the project:


More drying fires.

The trailer jacks are great at raising and lowering the oven, but rolling it on them is trickier. They have a mind of their own. So I installed 4 additional fixed wheels under the oven. So I now raise the oven, remove the wooden leg supports shown under the legs here, lower the oven onto the fixed wheels, drag it out into the driveway, then reverse the process to get the oven onto stable wooden supports, cut to match the slight angle of my driveway. I can do it on my own without much trouble, not bad for a 1700 pound oven.


Oh this is a glorious feeling, after about a 2-3 hour fire to heat up the oven very hot, then sealed up to "soak" and even out the heat. The pizzas cooked in just a few minutes:


Not a glorious feeling is the neighbors who are in poor health and had trouble with the smoke from the fire. After much agonizing, I decided to retrofit the oven so that it can be fired with propane, but I wood fires would be possible too. I think the kicker was when I called the fire marshal to ask if my neighbor's claim was true, that what I was doing was illegal. He said no, that I can burn a fire on my property and I was "within my rights." I just didn't want to be that guy, and didn't want to cause problems for people who are sick.
So I bought a wok propane burner that happened to have an 8" cast iron pipe attached to it.


I chiseled a hole in the oven very slowly to make sure I didn't cause a problem by making a large crack on the inside. The chisel was completely buried in the oven before I got to an opening on the inside.


So now the propane burns to one side on the back of the oven, and it gradually builds heat pizza after pizza. The first few take a while, but the later ones cooks a little quicker. Still nothing like the heat of the wood fire after a few hours.


posted by Michael @ October 01, 2021
0 Comments
![]()

0 Comments:
Post a Comment
Subscribe to Post Comments [Atom]
<< Home